
Celebrate spooky season with a fun spinning project using Living Dreams Yarn Mill Ends. Mill Ends are all the bits and bobs leftover from production at the fiber mill that would otherwise go to waste. These colorful bits of fluff can be brought back from the dead with a bit of spinning and determination. You will be blown away by the result!
Our friend malia.mayed.it over on Instagram breaks down the whole process for you in a quick reel that you can view here. Or, keep reading to see the step by step.
Step 1

Oooh and aaah over your mill ends from Living Dreams Yarn. Each bag of mill ends is unique, so you never know what you’re going to get. We always make sure to include a wide variety of colors though! There’s usually a mix of solids, stripes, and sometimes there’s some sparkles in there too. It’s mostly fine merino wool, but may also include exotic merino blends, natural wool, alpaca, camel, silk, bamboo, & synthetic fibers.
Step 2
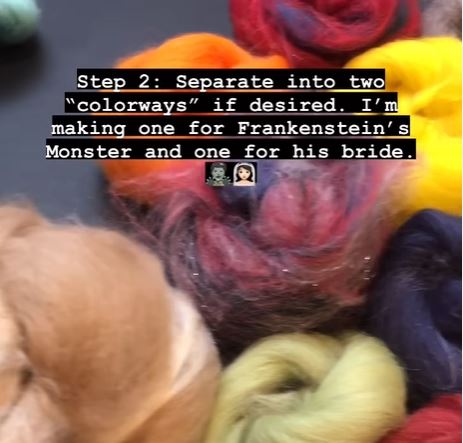
Separate into two “colorways” if desired. I’m making one for Frankenstein’s Monster and one for his bride. Each package of Mill Ends has a total weight of 7 oz (200 g) – more than enough for 2 healthy sized skeins of yarn. Of course, you could also skip this step and just make one mega skein!
Step 3

Spin, spin, spin. (Break fiber into smaller strips as you go if you’d like.) Lucky for you, there’s not much prep work for the Mill Ends. You can draft on the fly and grab a new bit of colorful fluff each time you finish spinning your current fluff. Malia is using an e-spinner here but you could totally get away with using a drop spindle or a spinning wheel instead.
Step 4

Wind singles into a center-pull cake. Of course, a yarn winder comes in real handy here but if you don’t have one on hand, you can also wind a center pull cake on a toilet paper roll! Waste not, want not, am I right?
Step 5

Ply, using both ends of the cake. This is such an easy way to ply your handspun yarn because you don’t need a second bobbin. Plus, you won’t have any annoying leftover length of singles like you sometimes do when you ply 2 separate things of singles together.
Step 6

Wind into a skein and repeat. If you need a refresher, here’s a detailed tutorial on the process of setting your homespun yarn. It’s hard to believe that these gorgeous, colorful and cohesive skeins were made with a random assortment of Mill Ends. Ready to make your own Frankenyarn? You can grab a pack of our marvelous Mill Ends in our Etsy shop.
Imagine all the possibilities for projects made with this amazing yarn! Did you learn anything new about spinning today? Will you be trying this fun Frankenyarn project? We’d love to hear your thoughts in the comments below or you can reach out to us on our social media!